Showing posts with label sewing for baby. Show all posts

Wednesday, February 26, 2014

Sewing for baby: let's make a romper! Part 1


Sewing for baby:
Romper
Part 1


I mentioned before about this awesomely adorable fabric I got from This awesome fabric store!


    I had made a couple of diapers from it, but wanted some clothing too. It’s a great print, and a very thin knit, which is perfect for Texas Summer.


This time I opted for a one piece romper. Summer or not, one piece outfits are great on babies. No exposed bellies to worry about, no concerns over pants being too big and falling off (always a concern with my tiny little babies).

I searched around and didn’t find a good pattern I liked, so I was just about to eyeball one when I found this link on Pinterest. It’s Dutch, which I don’t speak, but the pattern is solid and pretty simple to follow even without written instructions. Of course you could translate it into English if you wanted.

I simply cut the pattern and then winged the rest.

Since mine is thin, I double up on the interior parts that will be inside the legs, I opted not to do a separate binding, so these pieces need to be sturdy enough to hold snaps, though I am leaving towards using buttons as a closure. I can’t decide yet.

I pinned a lot to help keep the fabric from rolling, used my trusty knit stitch and moved very slowly.

As this is a thinner jersey knit, it is prone to rolling, so you want to go slow and pay close attention that you are sewing through all the layers where wanted. Taking stitches out of fabric this thin is not fun at all.

You are sewing right sides together as you will flip them to the inside of the piece when done.

Sew all of the leg binding pieces, then move to the shoulder seams. Sew right sides together on both shoulders.


Pin your sleeves to the armsyce and sew those in.


Flip your piece so you are looking at the right side all laid out flat. Now bring right sides together and pin the arm and side seams at the same time.


I much prefer this method over inserting a sleeve into an existing arm hole, but if you prefer the other way, there is no reason that would not also work.


Sew the arms and side seams together.


We are almost done, we need to complete the binding edge on the legs, neck and front openings, hem sleeves and legs and we’ll be ready to dress up adorable babies.

**I do not own a serger, so my inside seams are typically finished with a zig-zag stitch or my machines version of the over lock stitch. However, as knit does not fray, and this is super thin with a tendency to roll, I did not do any seam finishing. Of course you should do whatever you like in regards to seam finishing.**


I had to put my machine away for a few days, but stay tuned, the completion of this is coming soon.

Friday, February 21, 2014

How to recover a tired pack and play


We bought a pack and play when I was carrying our second child. That was 7 years ago. Where or where did the time go?

Since that time, it has housed 5 children through early days of sleeping in our room and many months of play time. It has been well loved to say the least.

Before my 5 year old was born, I took off the original fabric used in the bottom, and replaced it with some thin fleece. I did this because our fabric had been damaged (though I don’t recall how). It was down and dirty job, done very quickly without much preparation or thought as we simply needed it to be functional again.

Now, it’s 5 years and 3 kids later, and the thing needs some love. Bad. The twins use it daily, though hopefully that will change once we move to a one story house, and they can spend more time free ranging all over the house without worries of stair climbing.

I’d been considering doing this for a while, but never had the nerve. What if I messed it up? Then we’d be down a place for the twins to play safely, and with a new baby coming to boot.

BUT, I also had this adorable Raggedy Ann flat sheet that came from my Grandmother’s house, and it was doing nothing. Sitting in a closet, not being loved. It was from  my childhood, and I treasured it, but I couldn’t bear  to do anything with it either. What if it got damaged?


So one night, I decided enough was enough, I was going to man up and do what needed to be done.
The way the pack and play bottom was constructed was pretty smart. When folded up, the bottom actually wraps around the pack and play and keeps it sturdy while you zip it up into the carrying bag. This means that there are 4 slats inside, allowing it to wrap around the folded item. When unfolded, you simply unroll the mat, and place it in the bottom. Smart. It also meant, that I needed my measurements to be exact, or risk it not fitting anymore. Scary.

So I measured and measured and measured again. Then I sketched. And plotted.

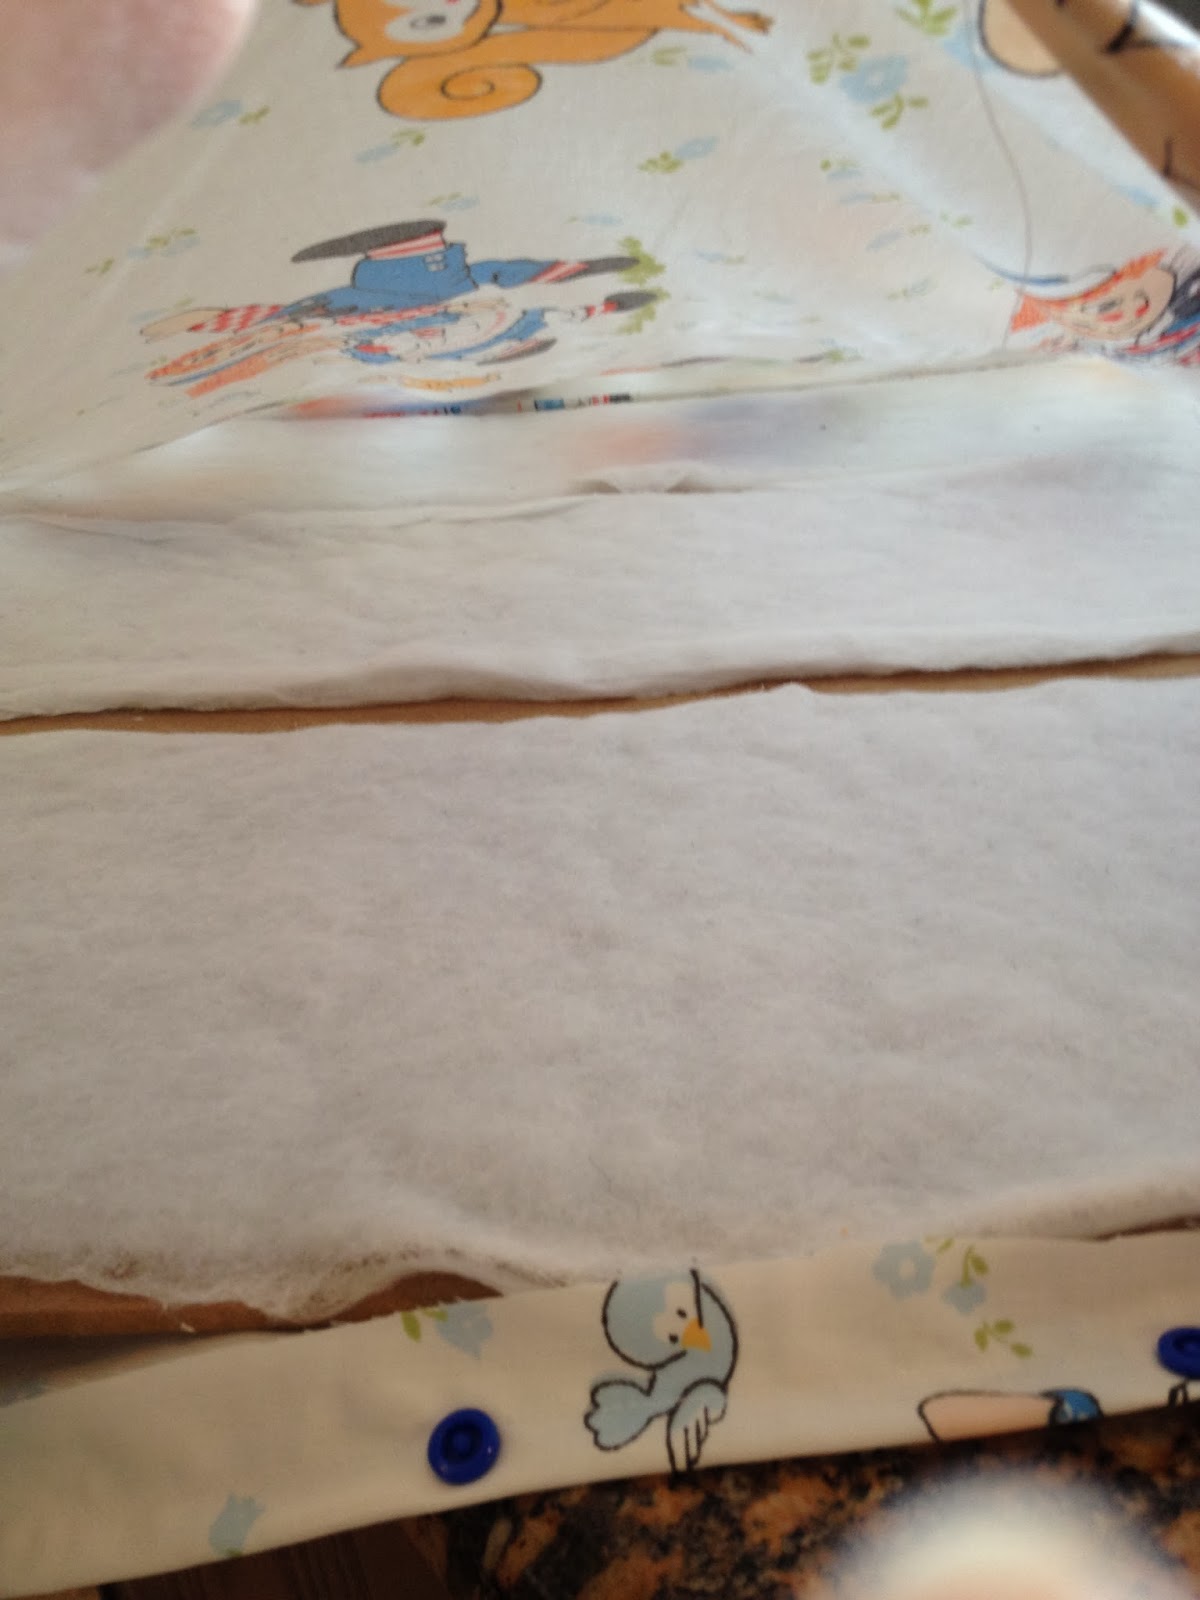
Then I cut. The first part was pretty easy, a big rectangle. Actually, 2 big rectangles. Sewed up on three sides with a hole at one end to insert the slats. I put the slats in, careful not to overlap, and realized I had a bit of room on each end, so I top stitched about an in in, creating a “Stopper” line for the slats. Then I folded in the end, and hemmed it down. I wanted to leave the end open, so I could remove the slats and wash when the fabric got dirty. We know it’s going to happen, it’s a matter of when and with what. Such is the nature of raising children am I right?


So I opted for snaps. Velcro could work, but with kids eating in there and stuff, I imagined it filling up with crumbs and other various grossness. No thanks.

I have snap pliers and plastic snaps, though metal would work as well. I added 6 (or was it 8?) snaps to the hemmed open edge, and snapped it up. Then I placed it back into the pack and play, tucked any extra fabric under the bottom piece and admired my work. Not too shabby, and it looks so cute.

Now the pack and play is revived and getting love, and so is my old Raggedy Ann sheet. So fun!

Now to figure out a way to recover the rails….stay tuned,  I have a few ideas kicking around in there