Showing posts with label tutorial. Show all posts

Wednesday, February 26, 2014

Sewing for baby: let's make a romper! Part 1


Sewing for baby:
Romper
Part 1


I mentioned before about this awesomely adorable fabric I got from This awesome fabric store!


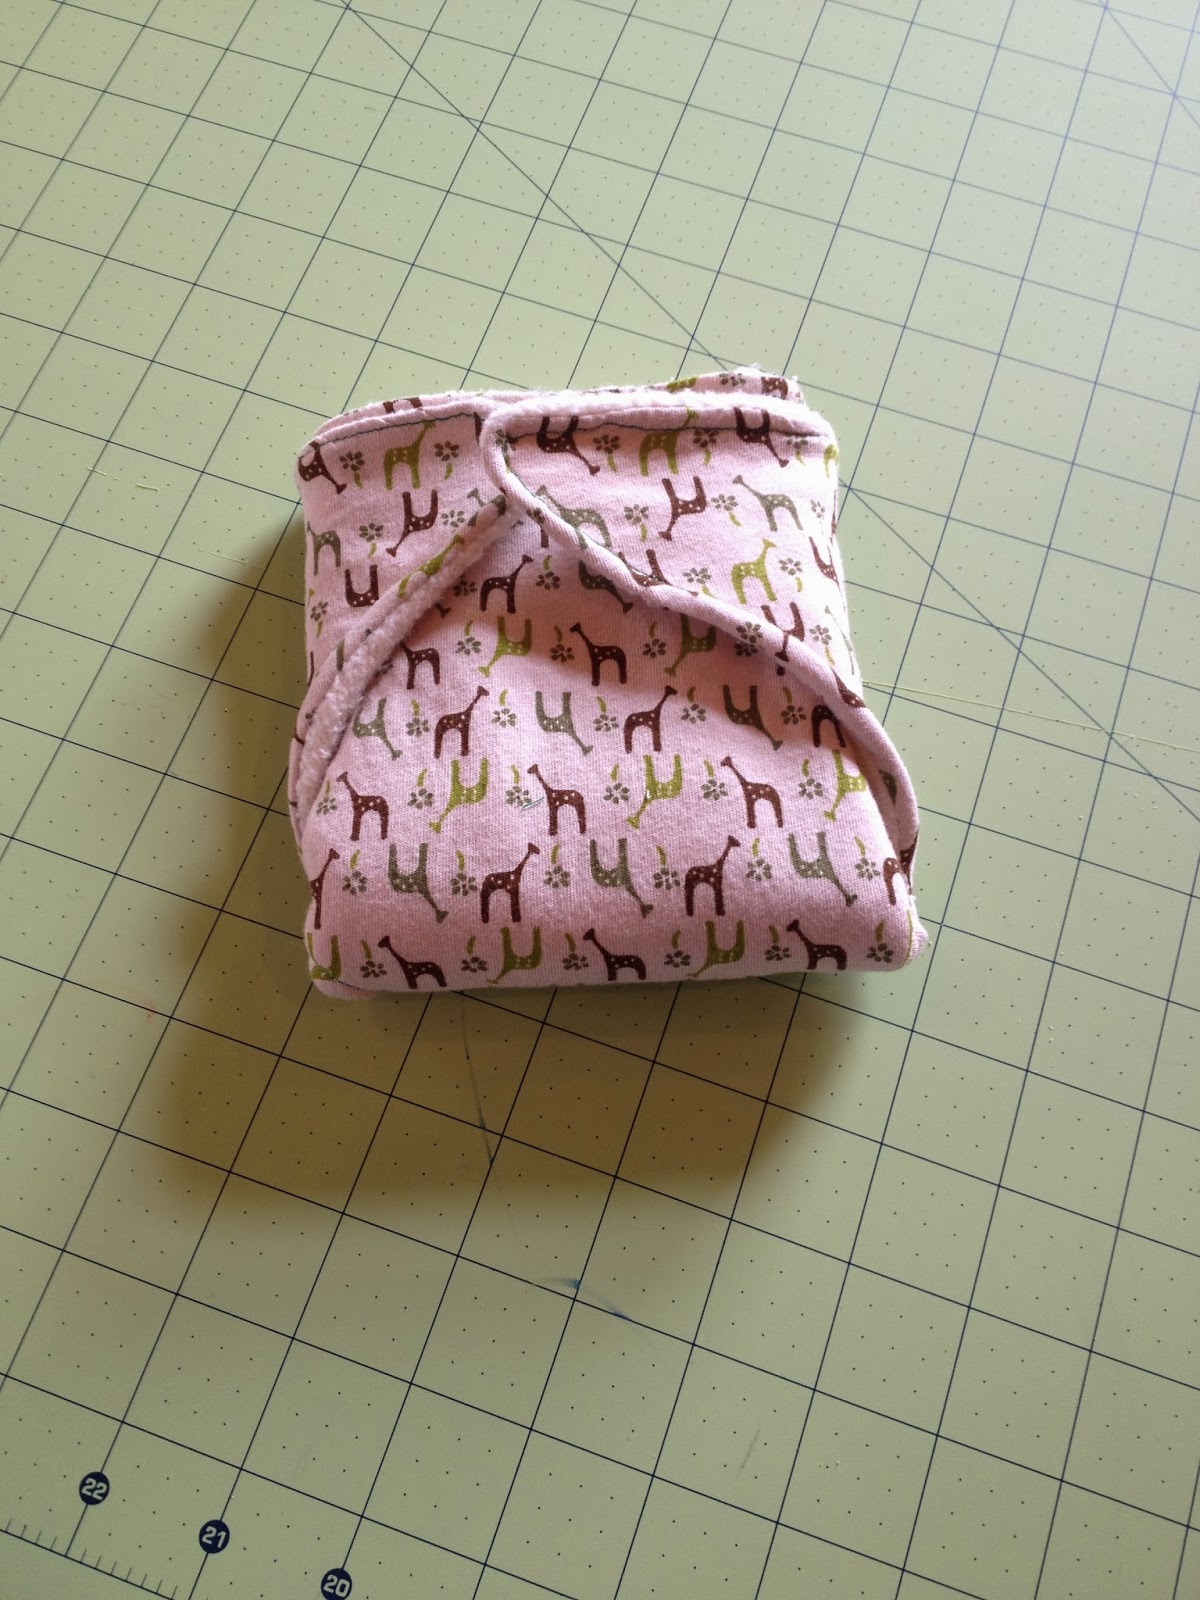
    I had made a couple of diapers from it, but wanted some clothing too. It’s a great print, and a very thin knit, which is perfect for Texas Summer.


This time I opted for a one piece romper. Summer or not, one piece outfits are great on babies. No exposed bellies to worry about, no concerns over pants being too big and falling off (always a concern with my tiny little babies).

I searched around and didn’t find a good pattern I liked, so I was just about to eyeball one when I found this link on Pinterest. It’s Dutch, which I don’t speak, but the pattern is solid and pretty simple to follow even without written instructions. Of course you could translate it into English if you wanted.

I simply cut the pattern and then winged the rest.

Since mine is thin, I double up on the interior parts that will be inside the legs, I opted not to do a separate binding, so these pieces need to be sturdy enough to hold snaps, though I am leaving towards using buttons as a closure. I can’t decide yet.

I pinned a lot to help keep the fabric from rolling, used my trusty knit stitch and moved very slowly.

As this is a thinner jersey knit, it is prone to rolling, so you want to go slow and pay close attention that you are sewing through all the layers where wanted. Taking stitches out of fabric this thin is not fun at all.

You are sewing right sides together as you will flip them to the inside of the piece when done.

Sew all of the leg binding pieces, then move to the shoulder seams. Sew right sides together on both shoulders.


Pin your sleeves to the armsyce and sew those in.


Flip your piece so you are looking at the right side all laid out flat. Now bring right sides together and pin the arm and side seams at the same time.


I much prefer this method over inserting a sleeve into an existing arm hole, but if you prefer the other way, there is no reason that would not also work.


Sew the arms and side seams together.


We are almost done, we need to complete the binding edge on the legs, neck and front openings, hem sleeves and legs and we’ll be ready to dress up adorable babies.

**I do not own a serger, so my inside seams are typically finished with a zig-zag stitch or my machines version of the over lock stitch. However, as knit does not fray, and this is super thin with a tendency to roll, I did not do any seam finishing. Of course you should do whatever you like in regards to seam finishing.**


I had to put my machine away for a few days, but stay tuned, the completion of this is coming soon.

Wednesday, February 19, 2014

Diaper Sewing for the newbie


A few years ago when I started cloth diapering, I started sewing some of my own. I loved it. 

After a while, it became too much to keep up with sewing, caring for 4 kids, carrying the twins, moving into a new home and blah blah blah.

So I put away my diaper sewing stuff and went on about my life. 

My husband is amazing, and supports all of my crafty habits, even when they seem to be nuts. In 2013 when I decided to sew all of the kids Easter outfits on my old sewing machine, he supported that crazy endeavor. And when he saw how much fun I was having, he bought me a new machine for my birthday!

Some may consider it to be an appliance and therefore a "no-no" of gift giving but it's awesome, I love it, and I love him for thinking of it. 

I've been sewing tons of stuff since I got it. 

Napkins


Blankets


All sorts of clothes for my kids:


And so much more!

Since baby #7 is on his way, I knew he'd have his fair share (and then some) of mommy made stuff. Especially since he is expected to make his arrival in the summer, and my normal crochet hobby seems to be more of a winter thing. 

I've made some clothing items, and have more cut out. But when I won a gift certificate to This awesome fabric store! I knew I would use it for diaper fabrics.

This baby will be in cloth, just like the 4 who came before him. And what is cuter than newborn diapers? Nothing.

I chose two fabrics: Adorable! and Squishy!
Which together are the perfect diaper combo. Cute and functional

For my first diaper, I opted for a QSFW, which is also called a Daddy Flat.
I love these diapers, they are easy to make, easy to use, wash and dry quickly, and fit a variety of weights and sizes. If you leave them closure-less, you can snappi them which leaves you a lot of room for flexibility. 
They do need a cover, so be prepared.

Pattern is here: QSFW pattern

I chose to do the smallest NB size as I have small babies, and I think we will get a ton of usage out of this size. The pattern is very simple, cut one layer of each fabric, I did one layer of sherpa and one of the knit. 

Then it's a simple pin right sides together, stitch around, leave a hole for turning, turn and top stitch. 

There are variations that call for elastic, or snaps/velcro, or even a stay dry fabric. Someone has even made it an AIO by using fleece or PUL for the outer layer. I went simple and made a regular plain flat.

When it's all done, you fold the wings to the middle, and pin or snappi around the baby. Easy Peasy.


For a newborn, this layering will be fine, once the wings are folded in, it's 3 layers of sherpa and 3 of knit. Fine for a newbie.

I made an over night version with two layers of sherpa. This will have increased absorbency for over nights, when you go longer between changings. 


I have some covers cut out to sew, which will work wonderfully over these. 
I can't wait to see the tiny little fluffy bum of my new little guy!

Thursday, February 6, 2014

Puppy Love Part 2

Puppy love part 2: the pants

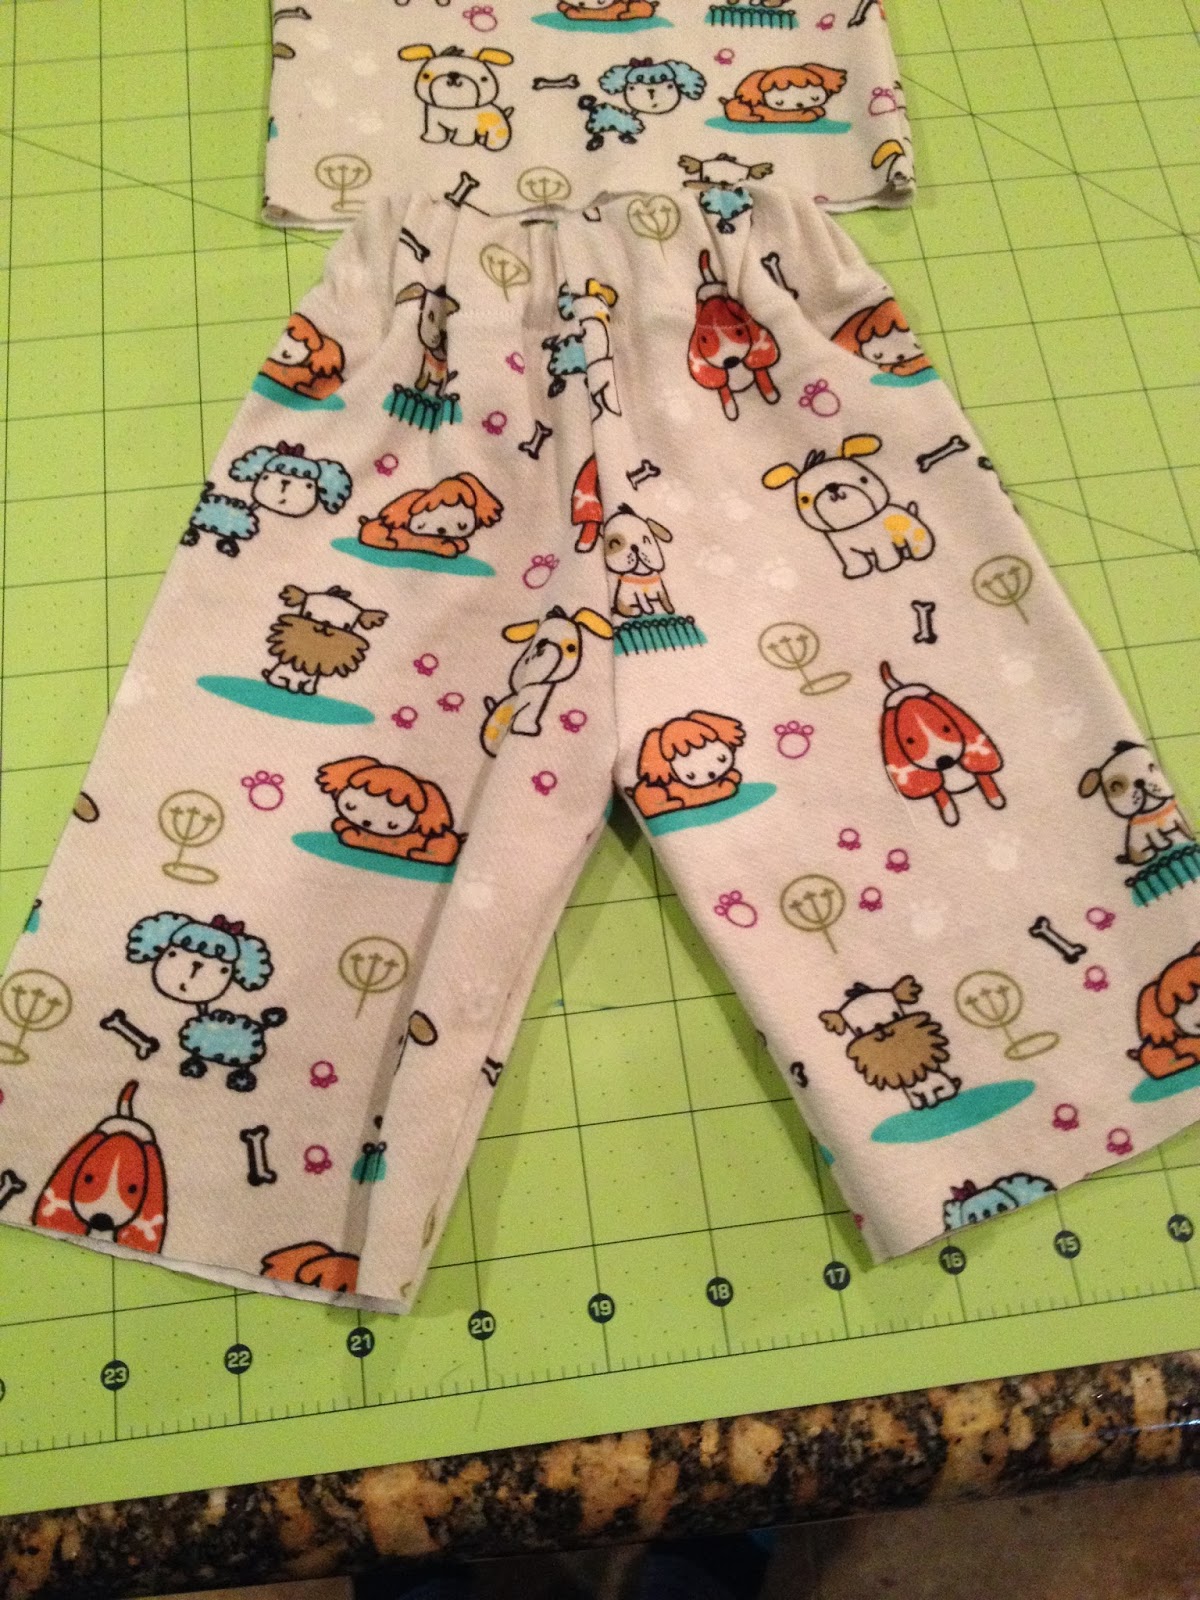
I went easy with this one, use existing pants, trace around, sew together. done and done.

So I grabbed some pants, laid them out on the side, and drew on my fabric to get two leg pieces.

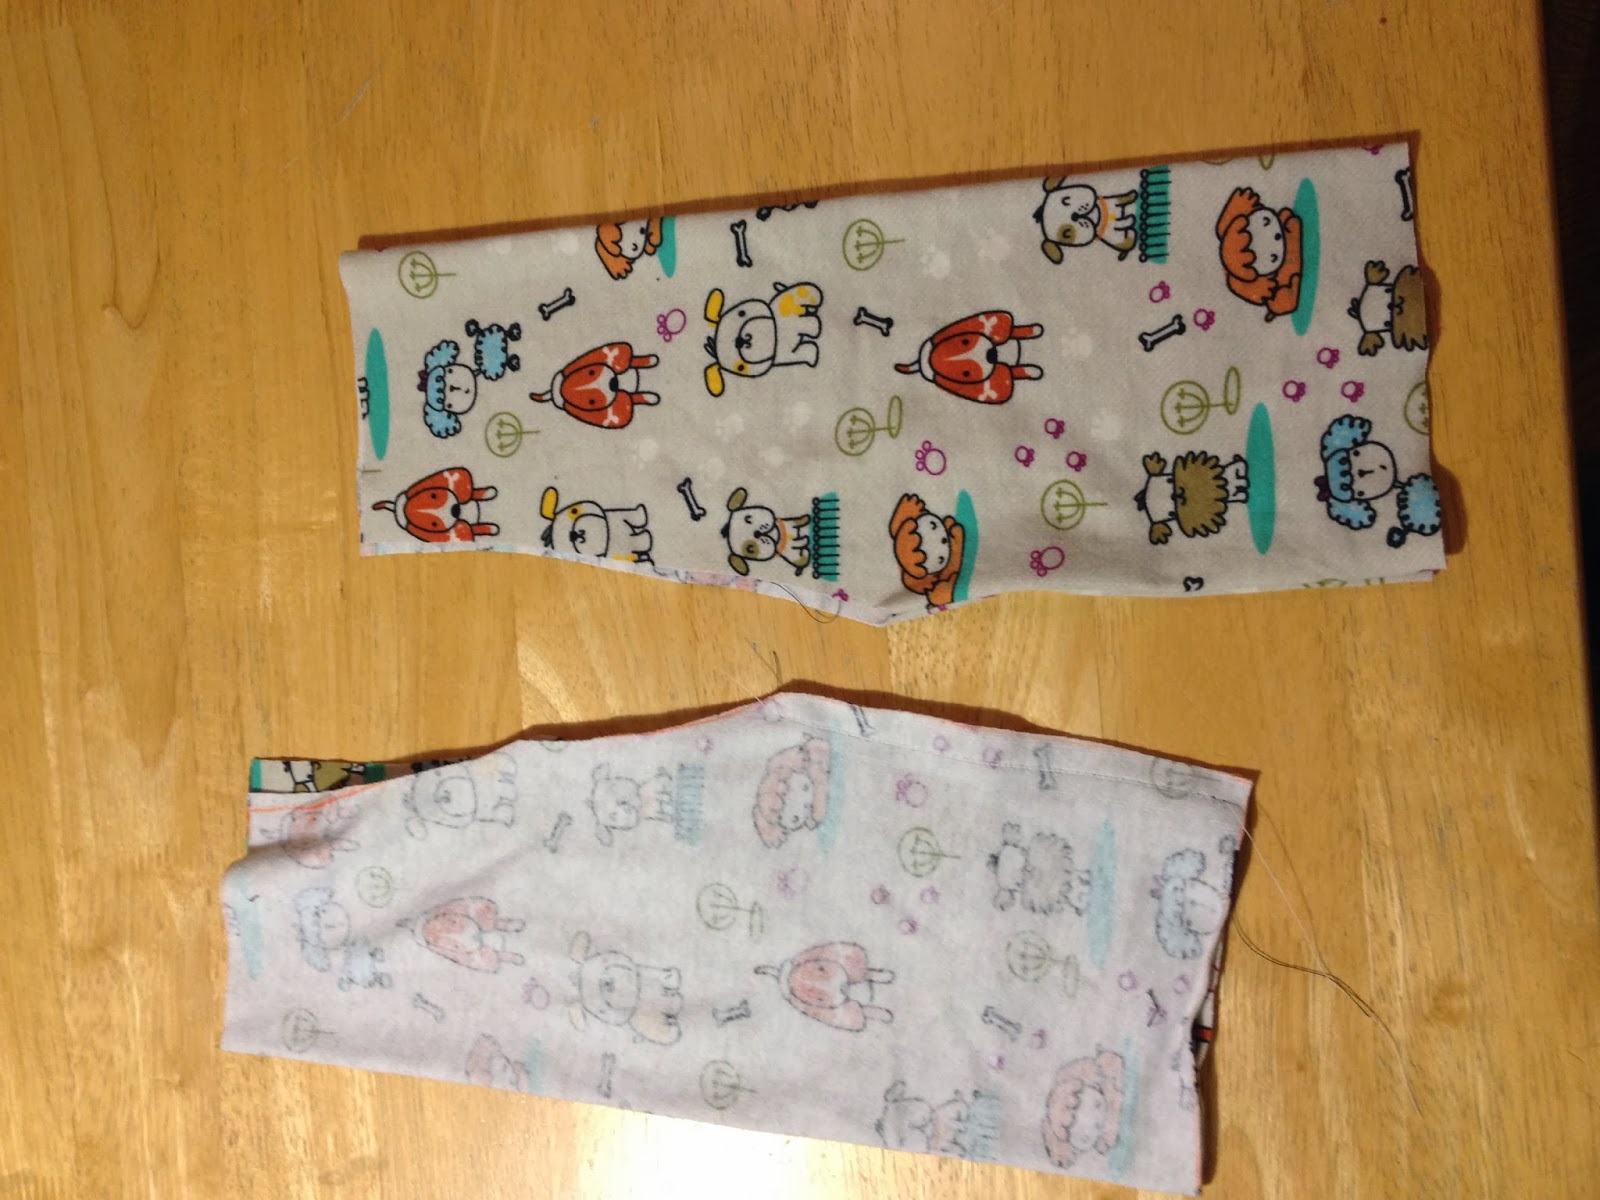
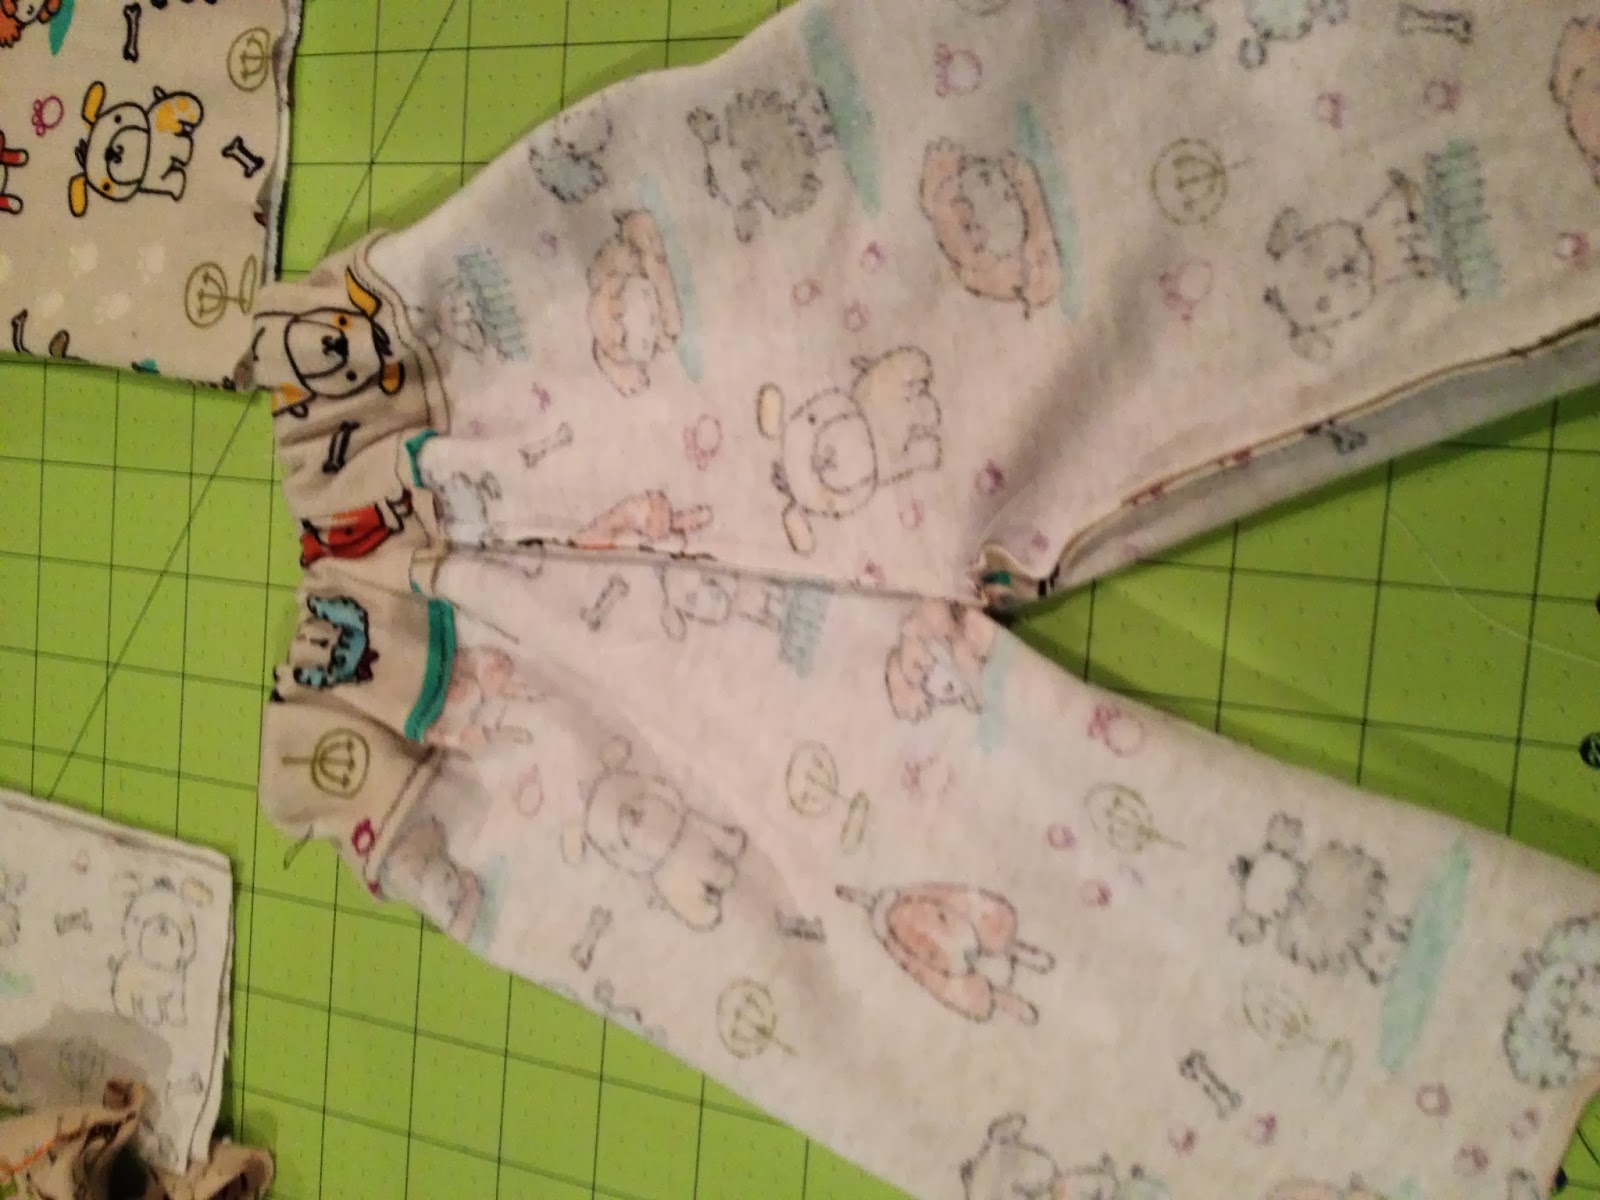
Sew up the leg sides on both legs, then turn one leg inside out. Place the right side out leg inside the inside out leg, so right sides are facing each other and begin pinning the crotch seams together. 

Sew up the U shape crotch and then flip the pants inside out again.
For the elastic waist, I folded down an inch and a half, using that half inch to fold in again for a clean edge. Then sewed a casing. I measured my elastic a few inches smaller than the waist. You don't want it pulled so tight you can't get them on over baby, but not so loose they fall off. Depending on the amount of stretch your elastic has, typically a few inches smaller is perfectly fine to get the fit you want.
Then I used the old safety pin and elastic method to insert the elastic into the casing. Zig-zagged the elastic ends together, and sewed casing closed. 

Turn them right side out and love them!
Once again, I chose not to hem these because I was not sure how long they would need to be since baby is not here yet, but also un-hemmed could get us more use out of them, after summer time. I can always hem later after baby comes if I choose to.

Can't wait to see my little man in these. Maybe even with a matching diaper underneath?

Puppy Love

Sewing for newborns is fun, and addictive I am learning.

I had purchased a yard of this knit fabric from Joann's
and made a few diapers, but was still left with a lot of fabric. I knew it would be perfect for clothing, but wasn't sure what to make. I don't like gowns on babies, and being due in the summer, I didn't really want footed sleepers either.

So I opted for a shirt and pants, I could later shorten the pants to shorts if I wanted, or not. If not, I will get longer use out of them, so win win.

I had made a jumpsuit for a friend before, but wanted this two a be a two piece option to allow for more options in the summer heat.

I chose this pattern for the shirt:NB-2T shirt pattern
It works wonderfully with knits, and having used patterns from this site before, I was confident it would be well drawn and would fit very well.

I cut out my pieces one day, and began to sew it together later, thankfully this is easy enough to do, even if you don't do it all at the same time. Frequently my projects are broken up over several days, so I like easy to make things.

I chose to use the same material to make my binding because A: I didn't have any other knit, and B: I just liked it.

So I got to work, I cut a strip 1 inch wide and pinned it right side to wrong side around my collar piece:


My machine has a knit stitch, it looks like a little lightning bolt. Perfect for working with knits (#3 shown below).

I sewed the back of the binding onto both collar pieces and then began folding and pinning the fronts. I prefer to work in assembly line style doing all the pieces that involve the same steps, but that's just a preference. You certainly could work the front piece and then the back. Your call.

After the back is sewn down, you want to fold the binding strip to the front, and under to create a nice binding edge.


Then sew the front portion down, again with the knit stitch. This allows the collar to stretch and move around baby's head without popping stitches. DO NOT PULL the fabric here, let the machine do the work. Speaking from experience, I can tell you, if you pull the fabric from either side, you will stretch and pucker, and ruin it. Been there, done that.
It looks a little wavy here, but it did flatten out. Just a poor picture. Then I trimmed my excess off the ends, I'd left them longer on purpose, but now it was time to let them go.

Now you create the envelope neckline so familiar with baby shirts. You want to lay your pieces on top of each other, overlapping at the shoulder binding.
Sew your shoulder seams. and if needed, cut away any excess from the points. Then you begin the arms.
Pin your arm pieces at the shoulder, ensuring the points of the armholes all line up.

Sew your arms to the shirt, and turn it wrong side up. I had cut long sleeves, and chose to shorten them at this point. Folding and hemming tiny sleeves after they are sewn together can be daunting, so I chose to hem now. I did the super scientific method of using an existing onesie to measure how long to make them:


Hem your sleeves, and then you are ready to sew up the sides and bottom.

Trim away any excess here, and then you can hem the bottom. I chose to leave mine unhemmed because I want to get longer wear out of it, and knit does not fray.


Notice the collar is looking flatter already, after a wash and dry it lays flat. 

Coming Soon: Sewing the pants to match

Wednesday, February 5, 2014

Sewing for the baby

Baby #7 is on his way and I need to get crackin'!

I have tons of left over boy stuff because I learned a long time ago that when you have, or expect to have, a large family, you don't get rid of clothing until it is dead. Kids clothes really can last for awhile because they grow so quickly. I have a tote full of boy clothes. But weirdly I have no newborn or small stuff. It all starts at 6 months. 

I also do not have some boy basics, like blankets and a Boppy cover. I do have the Boppy pillow, in fact, I had to buy a second one when the twins came. But I could not find a boy cover I liked. And the ones that were "ok" were, in my opinion, far too expensive for what is basically a pillow case. A curved pillow case, but still a pillow case.

$11 for a pillowcase? I think not

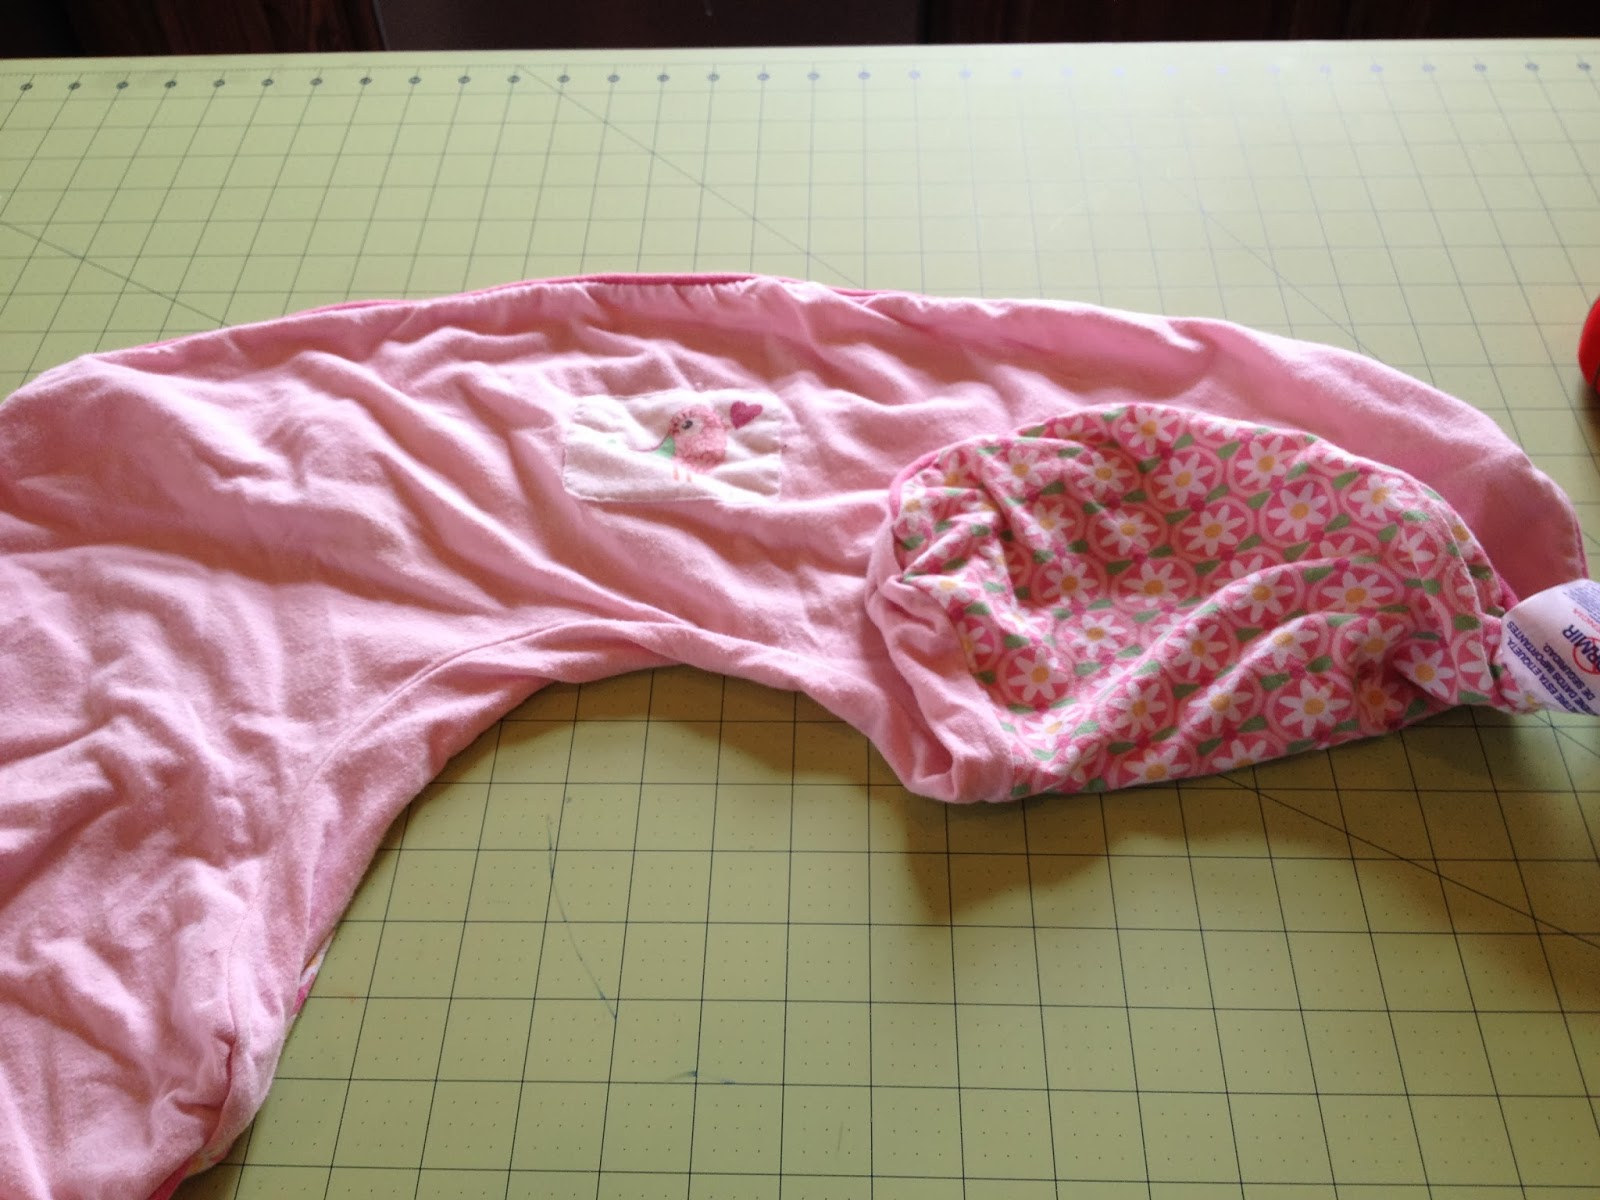
So I decided I could make one. It couldn't be hard right? I had a girly cover:


So I could, seemingly, wing it and make one. I looked online, certainly someone had done this before. Sure enough there were tons of tutorials. But they all seemed to link back to one in particular:

Boppy cover pattern

I opted to print the pattern and save any heartburn later. But I knew I didn't want a zipper. I wanted easy on easy off. So when I cut my fabric, I added 2 inches to the bottom portion of the pattern to allow for it to fit inside where the top portion was, in lieu of zipping closed.

My fabric came from the clearance rack at my local Wal-Mart. It was 86 cents a yard. Seriously who could pass that up?

It took a yard and some change (actually it took a yard, I bought extra because it was 86 cents).

Somehow I ended up with a back piece that was much larger than the front, so I trimmed it down and sewed it together in the middle trying my best to match up the chevron pattern.

Then I got to  sewing. First I hemmed the two areas where the zipper would have been, just a simple fold and hem job there. Then I sewed the front and back together as usual. Flipped it inside out and I was ready to go. 

Excuse the wrinkles, it's been tucked away in a box.


See how it looks like the zipper is holding it on? That's what I was going for, it's snug enough to stay put without it, and easier to take on and off. I need to make another because this one is bound to get dirty. Perhaps I can snag some more 86 cent fabric and get to work.

Monday, January 20, 2014

Maternity Dress for 50 cents

Having had 6 kids and carrying my 7th, I am well versed in maternity wear. I’ve had all brands/styles, from the (what I consider) to be more expensive store Motherhood Maternity, to the big box stores Target and Walmart. I find either to be just fine, but I do not like paying a lot of money for clothing that gets a short life span.
Fortunately for me, I am pregnant a lot, so my maternity wear may get more usage than some. However, like a lot of mom’s by the time I am out of my maternity clothing after pregnancy I am so sick of wearing it, I don’t want to see it again, and give it away.
Easiest way to conceive again? Get rid of all of your maternity and baby stuff. True story.
So, when I had baby #4 I vowed to keep at least some of my maternity clothes, and I did. Then I got pregnant with my twins. Most of the pieces still worked except that #4 was a summer baby, and the twins were due in February. Uh oh. Thankfully I still made it work, sweaters and such are pretty forgiving. I opened lots of awesome maternity wear on Christmas morning 2011 super excited to have clothing for the last 2 months of pregnancy. The twins were born 3 hours later. So it got post-partum wear for a bit, and then back in the attic it went.
Here I am pregnant with #7, another summer baby. I have summer maternity clothes, but its January and cold. Boo.
What I really wanted was a dress, something that could work for both winter time with tights and a sweater, and summer time when I’m huge and miserable, and HOT (did I mention we live in Texas).  Not to mention something I could sleep in, there are plenty of days you need a nap, and regular clothes are too uncomfortable to sleep in. A soft dress works just like a nightgown for me.
But again, I’m cheap and can’t see paying a ton of money for a bunch of dresses I will only be able to wear for a few months. I have a couple, but wanted more.
Whilst killing time with my kids one day, we ventured into the Salvation Army Family Store near our house. I like to go there, not as much stuff for the kids to break as a regular store, and if they manage to break something, it doesn’t cost me much money to buy it. The day we were there, everything happened to be 50% off. Not that the full price is anything to balk at, $1.00 for brand new with tags Children’s Place kids clothes, sign me up. But 50% off, I can’t say no to.
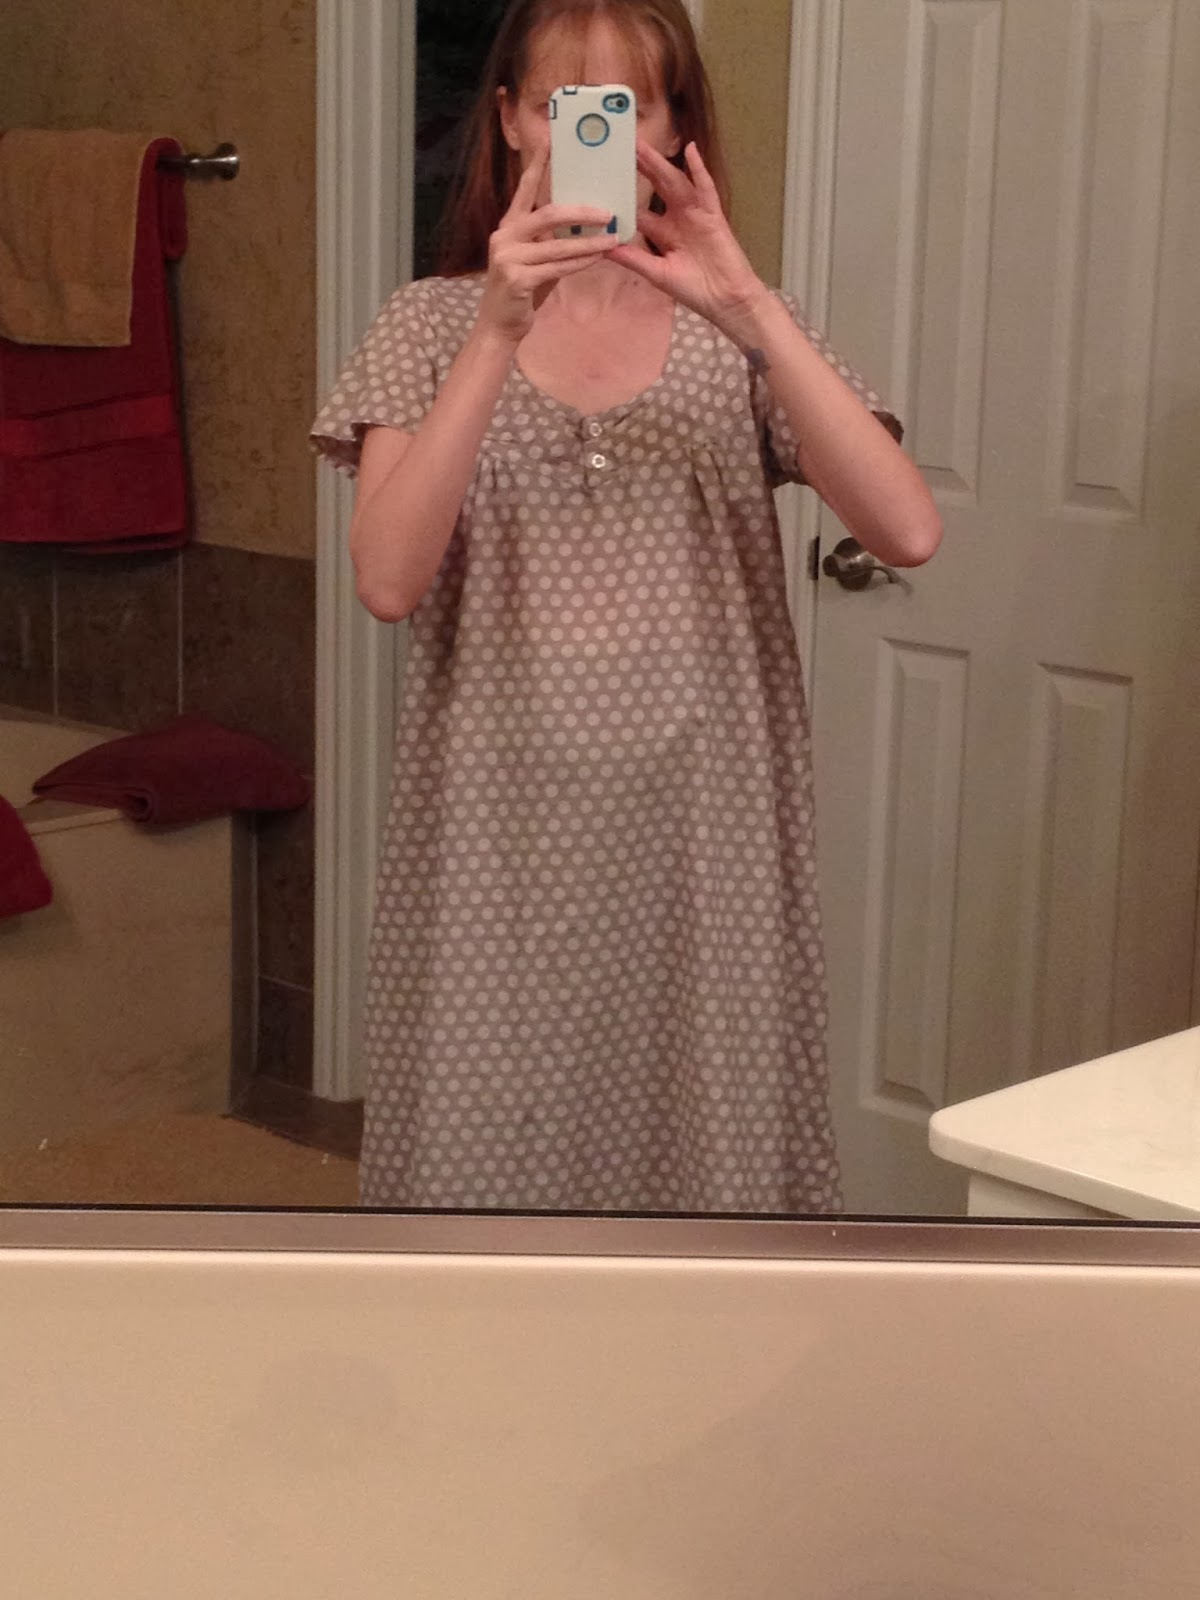
Wandering through the store I found an item in the “sleepwear” area of the store that looked perfect for a refashion project. Thin cotton material (so a slip is required for daytime wear), cute detailing at the neckline, and HUGE. It was 3 sizes too big, and even 20 weeks pregnant, it came to my ankles. Perfect.
The re-fashion is pretty simple, and didn’t take any time at all really. Excuse the horrible selfies; no one was around to take my pictures.
First, try one your awesomely large dress/nightgown and decide you think it may be just fine the way it is, seriously, it’s soft and breezy. It could work. But no, we want to try and cute it up a bit.

Then decide where you want to take in the waistline. For me, it was right under the bust area, so I could have belly growing room. For you, it may be lower. It’s all about where you like it. Non pregnant, I would have gone a bit closer to my natural waist, but let’s be honest, I won’t see that again for quite a few more months.
Turn the dress inside out and mark with a fabric marking pen, or chalk, or whatever your favorite marking device is (I use #2 pencils because I have them everywhere and yet my fabric pens keep wandering off). Make a couple of marks on the inside of the dress where you want the waist line to be.
Take the dress off, lay it flat and connect the marks, then follow them all the way around the dress making one long line. This is where your elastic will go. It will cover up the marks, but be sure whatever you use doesn’t show on the right side of the dress.

Take your elastic, use whatever size you are comfortable with. Mine here is ½ inch, it’s what I have an abundance of, but you could go 3/8 inch if you wanted, or even wider if you prefer. Wrap the elastic around your body (best to do without a shirt, or with a very thin and form fitting shirt to ensure a good fit) where it will hit once sewn to the dress. You don’t want to stretch the elastic tight, just wrap it snugly. It should be tight but not stretched out.
Cut the elastic strip and get ready to start sewing. I like to start sewing on the side, close to a side seam, to keep the start/stop less visible when I am wearing it. But this is a preference, so do what you like. Line up the elastic with your marks and place a pin. Or if you’re a rebel like me, go to the machine, and use the presser foot to hold it in place.


Start sewing, my machine uses a 3 step zig zag to attach elastic; this is great for that purpose. Allows everything to stretch without being puckered weirdly, and is cute enough to have on the outside. I do a straight stitch forward and backward for 5 stitches to start, and then move to the zig zag. As you sew, you want to pull the elastic a bit, but not the fabric. Don’t pull too tight or you will run out of dress and have elastic left over, and it will be too tight to wear. I like to pull about an inch more than the fabric its being sewn to. This gives a good amount of stretch to the finished item. Do this all the way around, ensuring the elastic is always lined up with your marks on your fabric. When you get back to the beginning, overlap the elastic an inch or sew with the original piece, straight stitch forward and backward for about 5 stitches, cut your threads.
Now try on the fitted item and see how you like it. Now we can measure for the length. While I like long dresses, I felt this one was still miles too long. I wanted it right above my knee. So I tried on the dress, and got my measuring tape. I held the tape right at the elastic line above my belly button. Then I measured down to knee length. Record this number, mine was 24 inches. Be sure to include a couple of inches for the hem, if you want it to hit at the knee while being worn, measure about 1 ½ to 2 inches below your knee.
Take the dress off; lay it out flat on your cutting board. Measure from your elastic downward to your new measurement, and mark that line. Then do so from the other side of the dress. If you like, draw a line all the way across at the measurement you need, it’s up to your comfort level. Now cut it off. Don’t toss that scrap yet, we’ll use it to make a belt.


Fold and pin your hemline. I fold up an inch, press, fold another inch and pin. This gives a nice clean hemline on the inside. Sew your hem, you can use a fancy stitch here if you like, I did a straight stitch because it worked well with the fabric, but do whatever you like.
Try on again; decide if you need to take in the sleeves. I took mine in as they were pretty large, but alas, I didn’t take a picture. Boo. Basically I just took in an inch on each sleeve, I started at the bottom of the sleeve, sewed an inch away from the existing seam until I hit right below the armpit then trimmed away the excess. Now the sleeves don’t seem so billowy and appear a bit more dress like.

To make the sash, I took the remainder scrap of skirt, cut open one of the side seams so I had a long strip. Then I cut a 4 inch wide rectangle, using the whole length of my scrap.
I’m a horrible tube turning sewer, I can do it, but it involves lots of swearing. So instead, I folded my rectangle right sides together, sewed each end to a taper (you could do blunt if you prefer), and then flipped it right side out. Then I folded in the top about an inch on each side and pressed together, pinned and top stitched. Same result as sewing a tube, turning and then top stitching, but much less swearing on my part. Which is always a good thing, the kids repeat too much of what they hear.

Now, it’s too chilly here to wear the dress alone, so I grabbed a cardigan from my closet (this is also a re-fashion of an old shirt that didn’t fit right), popped it on, tied the sash around my new waistline and went about my day.
This was amazingly comfortable to wear, as I mentioned, this is thin so a slip was required to keep everyone from seeing everything I have in the sunlight. But luckily I own one, so no biggie. I wore it all day, and had no issues with the elastic. I had no angry red marks on my growing tummy, I was able to sit and kneel in church without issues. It leaves plenty of baby belly room without looking too "gowny". If you like, you could take in the side seams to fit it some more, and I may do that after I have the baby. But for now, this is wonderful. 

It was very easy, all said and done it was less than an hour of sewing time, maybe an hour total if you count trying on time, cutting time, and the brief time outs I took from sewing to talk to my wonderful husband.

It passes the kid and husband test, all said they really liked it. I can’t wait to wear it as seasons change; I get bigger and even after the baby comes.