Showing posts with label newborn diapers. Show all posts

Friday, March 21, 2014

Wool diaper cover

Wool Diaper Wrap Pattern


I love wool diaper covers, yes even in the heat. Wool is breathable, anti-bacterial, and easier to care for than often thought.

It makes amazing diaper covers over prefolds, fitteds, or even diapers with PUL to provide additional coverage for bed time. Wool can absorb without wicking to clothing or bedding, it doesn't need to be washed frequently. All around an awesome fiber for diapering.

Usually you see wool used as covers that look like pants or shorts. But as my baby is due in summer, I wanted something with less leg coverage. Although wool is great in summer, I like to have less on the skin as my babies tend to be little heaters. 

I decided I wanted a wrap style cover as they allow for the most customizable fit, which is nice for babies.

I didn't find a pattern I liked, so I made one. It's a small size, with a waist of 13 inches unstretched and a rise of 14 inches unstretched. Another awesome thing about wool is that it has great stretch. So this should fit for quite a while. 

Let's get started.


Supplies:
·        I hook
·        G hook
·        I love this wool in Bravo-1 skein
·        I love this wool in Smoke-1 skein
·        Yarn needle
·        Closure option- I will be using a Snappi, you could sew on buttons or snaps if you like.

Pattern is worked in rows.

Pattern:

With I hook, chain 36, SC in 2nd chain from hook and each ch across (34 sc)
Row2: SC in each SC across, turn
Row3-12: repeat row 2 piece should measure 3 inches long
Row13: sc 3sc together (insert hook into first sc from hook, yarn over pull up loop, insert hook into next sc, yarn over pull up loop, insert hook into next sc, yarn over and pull through all loops on hook), sc until 3 sc remain, sc last 3 sc together.
Row 14: sc across, you should have 14SC
Row15-24: repeat row 14 eight times.  
Row25-58: sc in each sc across, turn repeat row

Now the edging:

Change color if you like

Using I hook still, dc around the entire cover in the end of every row

Edging row 2: switch to G hook, turn your work and go the other direction now: sc in each DC around until you get to the decrease rows, FPDC BPDC two together, then sc around to the other side. When you get to the other side of the decrease rows, FPDC BPDC two together, sc around. When you get to the beginning, turn and work the other direction
Edging row 3: sc around until you get to the legs, sc two together 3 times then sc around to the other side and repeat. Sc to the beginning of the row, turn
Edging row 4: working the other direction, sc around. Fasten off, weave in ends.


As my baby isn’t here yet, your action shot will not be as adorable, but here is the finished item on Eeyore. A Snappi works wonderfully here to keep it closed, and as you can see, we get a lot of stretch on the wings and in the legs. This will allow for an awesome fit if baby has chicken legs, or chunky monkey thighs.


Wednesday, February 19, 2014

Diaper Sewing for the newbie


A few years ago when I started cloth diapering, I started sewing some of my own. I loved it. 

After a while, it became too much to keep up with sewing, caring for 4 kids, carrying the twins, moving into a new home and blah blah blah.

So I put away my diaper sewing stuff and went on about my life. 

My husband is amazing, and supports all of my crafty habits, even when they seem to be nuts. In 2013 when I decided to sew all of the kids Easter outfits on my old sewing machine, he supported that crazy endeavor. And when he saw how much fun I was having, he bought me a new machine for my birthday!

Some may consider it to be an appliance and therefore a "no-no" of gift giving but it's awesome, I love it, and I love him for thinking of it. 

I've been sewing tons of stuff since I got it. 

Napkins


Blankets


All sorts of clothes for my kids:


And so much more!

Since baby #7 is on his way, I knew he'd have his fair share (and then some) of mommy made stuff. Especially since he is expected to make his arrival in the summer, and my normal crochet hobby seems to be more of a winter thing. 

I've made some clothing items, and have more cut out. But when I won a gift certificate to This awesome fabric store! I knew I would use it for diaper fabrics.

This baby will be in cloth, just like the 4 who came before him. And what is cuter than newborn diapers? Nothing.

I chose two fabrics: Adorable! and Squishy!
Which together are the perfect diaper combo. Cute and functional

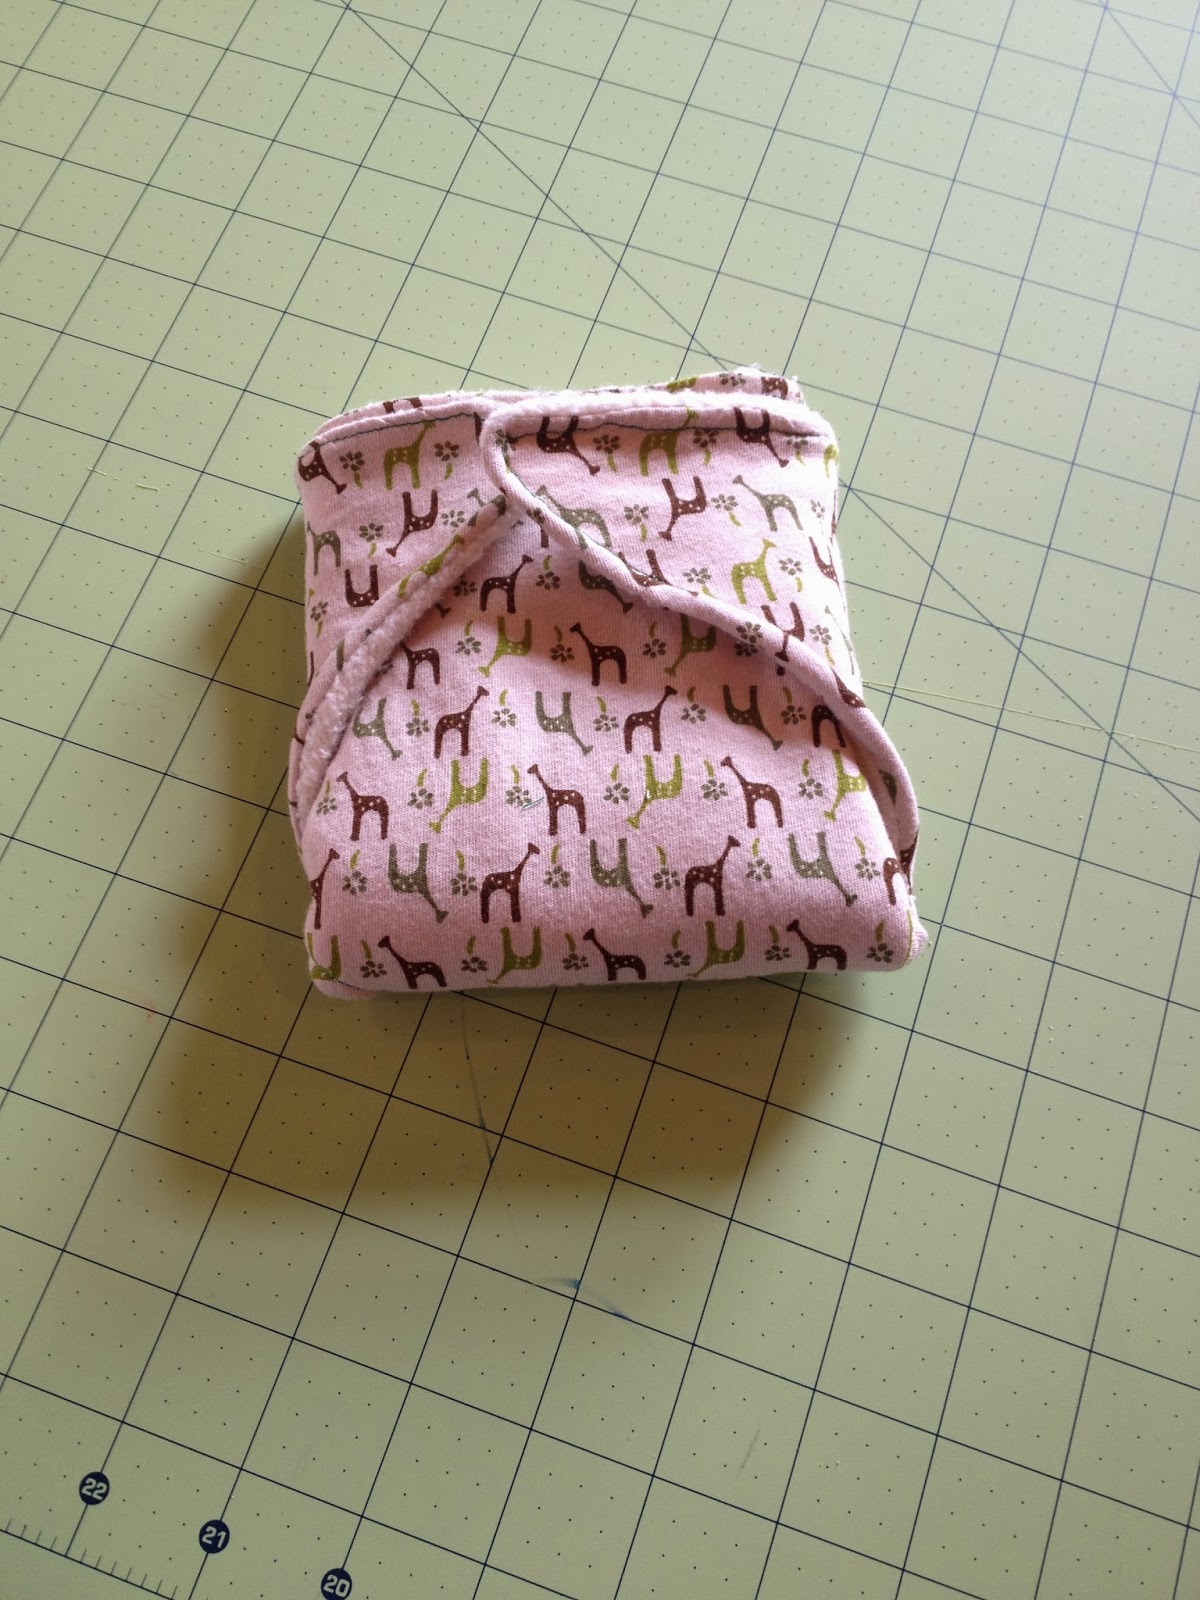
For my first diaper, I opted for a QSFW, which is also called a Daddy Flat.
I love these diapers, they are easy to make, easy to use, wash and dry quickly, and fit a variety of weights and sizes. If you leave them closure-less, you can snappi them which leaves you a lot of room for flexibility. 
They do need a cover, so be prepared.

Pattern is here: QSFW pattern

I chose to do the smallest NB size as I have small babies, and I think we will get a ton of usage out of this size. The pattern is very simple, cut one layer of each fabric, I did one layer of sherpa and one of the knit. 

Then it's a simple pin right sides together, stitch around, leave a hole for turning, turn and top stitch. 

There are variations that call for elastic, or snaps/velcro, or even a stay dry fabric. Someone has even made it an AIO by using fleece or PUL for the outer layer. I went simple and made a regular plain flat.

When it's all done, you fold the wings to the middle, and pin or snappi around the baby. Easy Peasy.


For a newborn, this layering will be fine, once the wings are folded in, it's 3 layers of sherpa and 3 of knit. Fine for a newbie.

I made an over night version with two layers of sherpa. This will have increased absorbency for over nights, when you go longer between changings. 


I have some covers cut out to sew, which will work wonderfully over these. 
I can't wait to see the tiny little fluffy bum of my new little guy!