We bought a pack and play when I was carrying our second
child. That was 7 years ago. Where or where did the time go?
Since that time, it has housed 5 children through early days
of sleeping in our room and many months of play time. It has been well loved to
say the least.
Before my 5 year old was born, I took off the original
fabric used in the bottom, and replaced it with some thin fleece. I did this
because our fabric had been damaged (though I don’t recall how). It was down
and dirty job, done very quickly without much preparation or thought as we
simply needed it to be functional again.
Now, it’s 5 years and 3 kids later, and the thing needs some
love. Bad. The twins use it daily, though hopefully that will change once we
move to a one story house, and they can spend more time free ranging all over the
house without worries of stair climbing.
I’d been considering doing this for a while, but never had
the nerve. What if I messed it up? Then we’d be down a place for the twins to
play safely, and with a new baby coming to boot.
BUT, I also had this adorable Raggedy Ann flat sheet that
came from my Grandmother’s house, and it was doing nothing. Sitting in a
closet, not being loved. It was from my
childhood, and I treasured it, but I couldn’t bear to do anything with it either. What if it got
damaged?

So one night, I decided enough was enough, I was going to
man up and do what needed to be done.
The way the pack and play bottom was constructed was pretty
smart. When folded up, the bottom actually wraps around the pack and play and
keeps it sturdy while you zip it up into the carrying bag. This means that
there are 4 slats inside, allowing it to wrap around the folded item. When
unfolded, you simply unroll the mat, and place it in the bottom. Smart. It also
meant, that I needed my measurements to be exact, or risk it not fitting
anymore. Scary.

So I measured and measured and measured again. Then I
sketched. And plotted.
Then I cut. The first part was pretty easy, a big rectangle.
Actually, 2 big rectangles. Sewed up on three sides with a hole at one end to
insert the slats. I put the slats in, careful not to overlap, and realized I
had a bit of room on each end, so I top stitched about an in in, creating a “Stopper”
line for the slats. Then I folded in the end, and hemmed it down. I wanted to
leave the end open, so I could remove the slats and wash when the fabric got
dirty. We know it’s going to happen, it’s a matter of when and with what. Such
is the nature of raising children am I right?
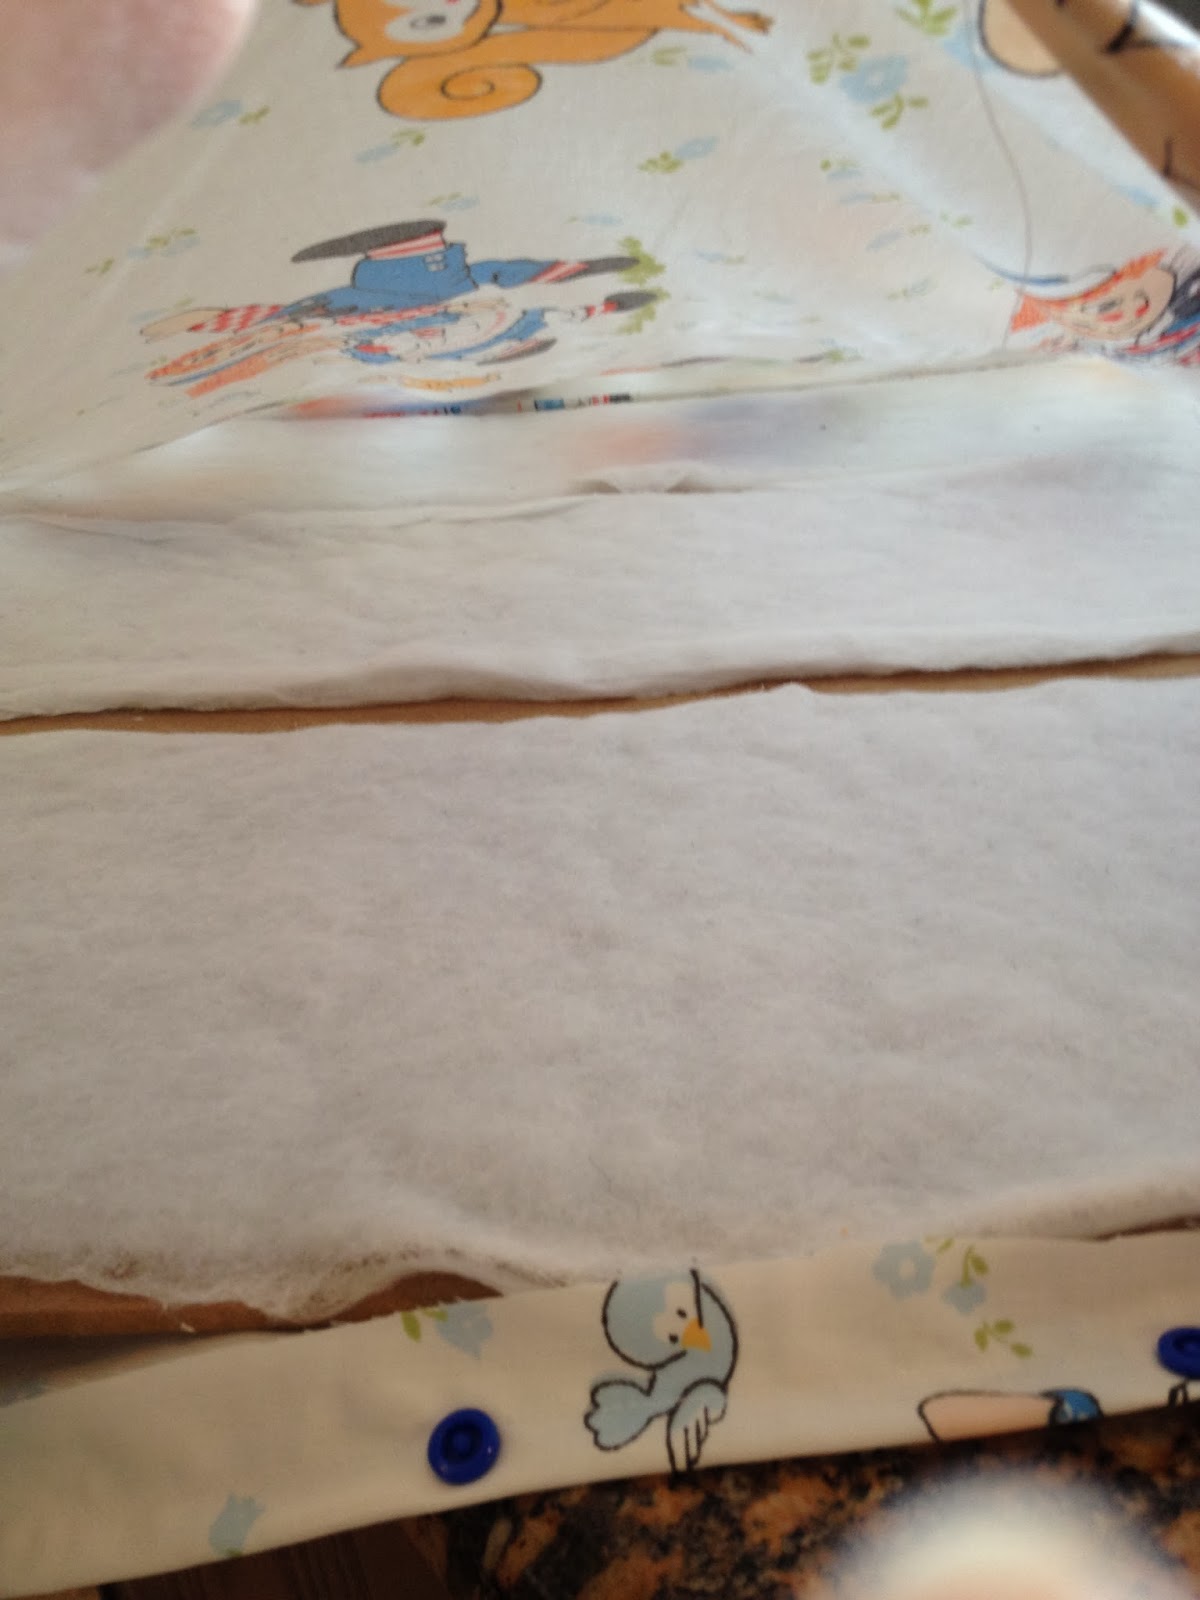


So I opted for snaps. Velcro could work, but with kids
eating in there and stuff, I imagined it filling up with crumbs and other
various grossness. No thanks.
I have snap pliers and plastic snaps, though metal would
work as well. I added 6 (or was it 8?) snaps to the hemmed open edge, and
snapped it up. Then I placed it back into the pack and play, tucked any extra
fabric under the bottom piece and admired my work. Not too shabby, and it looks
so cute.
Now the pack and play is revived and getting love, and so is
my old Raggedy Ann sheet. So fun!
No comments:
Post a Comment